Having a fresh look for your online store website can boost user experience, increase traffic, and even drive more conversions. However, most store owners are wary of redesigning their eCommerce websites due to the fear of losing traffic.
You don’t need to be worried. As long as you have sufficient backups, review all your content, and test rigorously, you can avoid losing traffic and sales during an eCommerce website redesign.
Keep reading to find out exactly how to do it. It doesn’t require a huge budget or highly specialized skills, just patience, diligence, and some SEO knowledge.
How to Redesign an Online Store Without Losing Traffic

Let’s jump in!
1. Create a Backup of Your Store
A site backup is a copy of your website that you can use if your original site gets destroyed or hacked.
It is essential to create a backup of your site. In case something goes wrong, you can restore to the functional original. You should back up:
- Theme files
- Plugins
- Databases
So, how do I create one?
Backups can be created manually or automatically.
- Manual backups. Manual backups are created by copying the files from your website onto another location on your computer or server. You’ll need to use FTP software and connect to your site via FTP (file transfer protocol).
- Automatic backups. Automatic backups are created by software that monitors changes to your website files and automatically creates backups when needed.
For example, you can simply use a plugin tool like Acronis Cyber Backup and follow the instructions. As you can see, the plugin has all the support needed to use it.
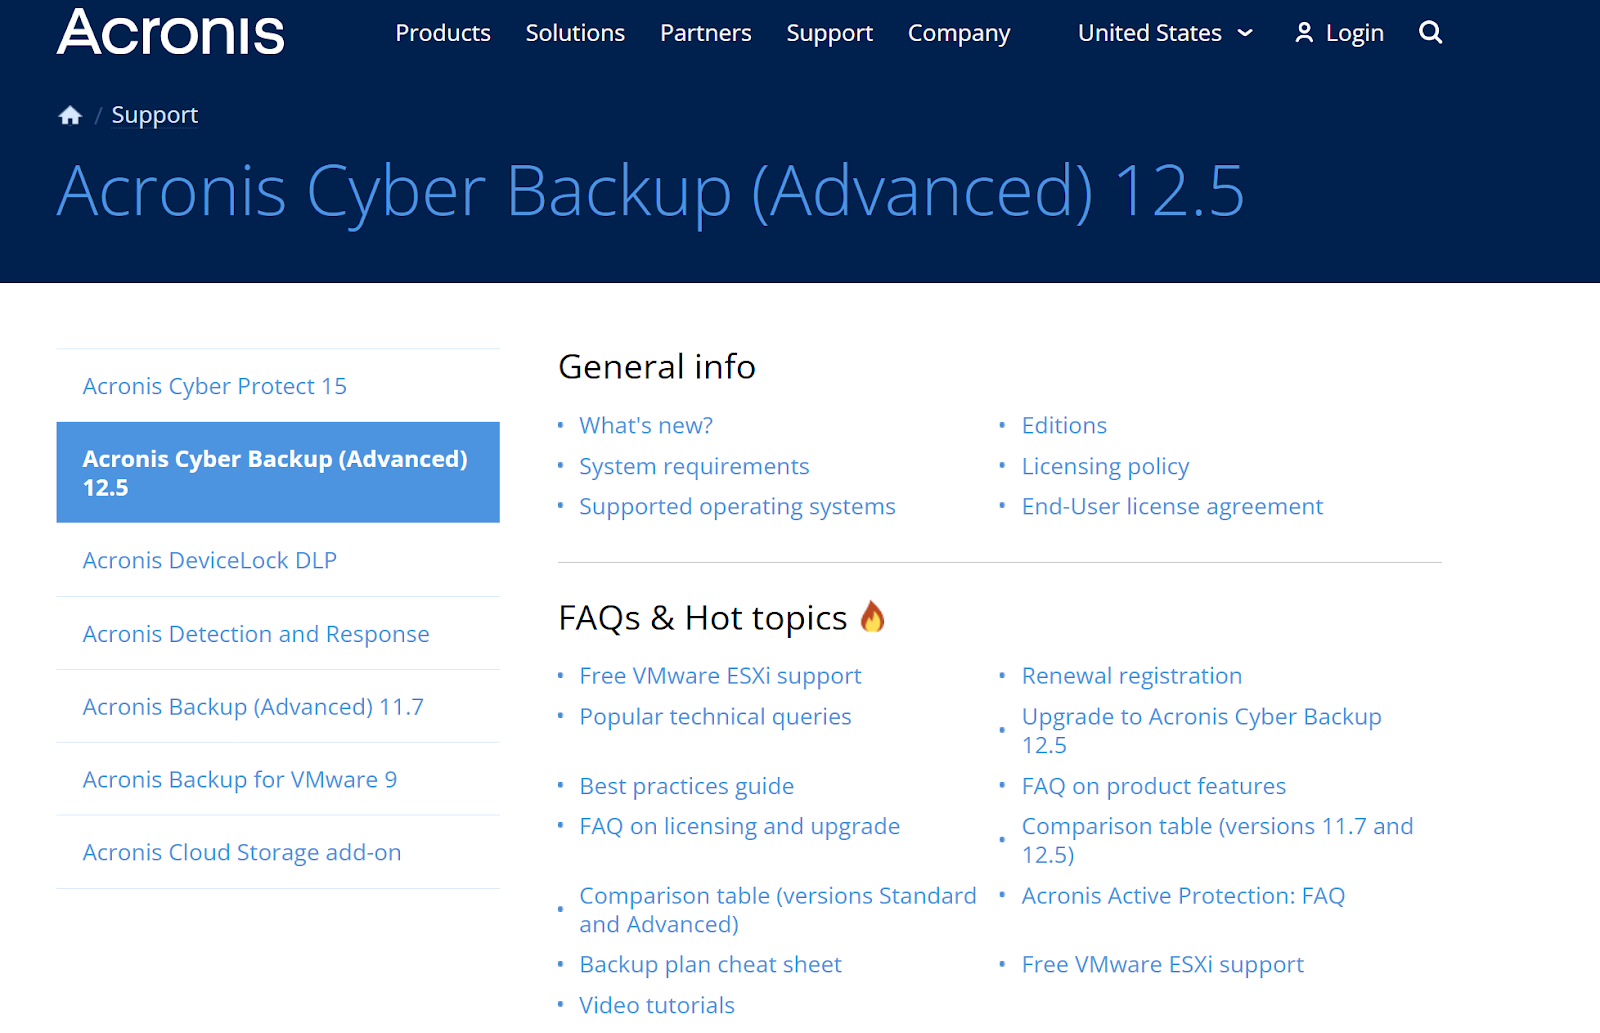
[Source: Acronis]
But if you prefer to do it yourself, you need to start by opening cPanel. cPanel is a feature available on most web hosting platforms that allows you to create a manual backup.
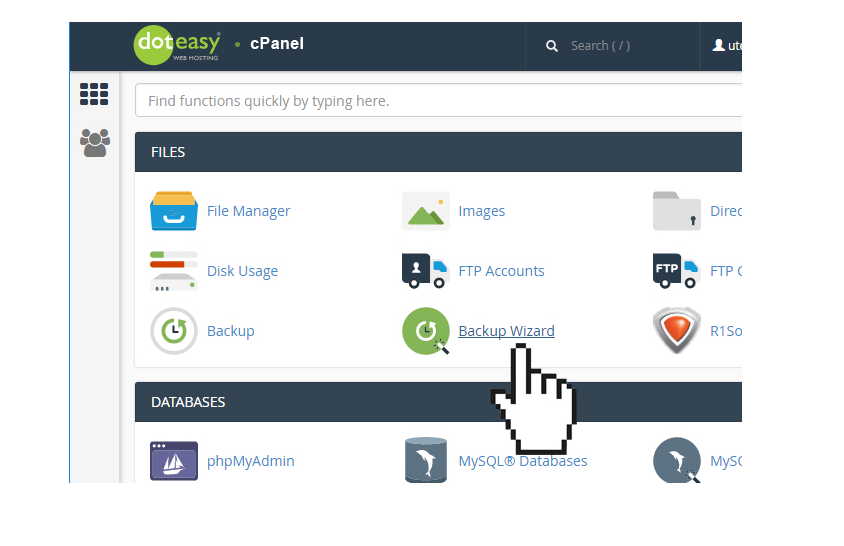
[Source: Websitecdn]
To do so, simply navigate to the “Files” section in cPanel, select “Backup Wizard,” choose the destination for your backup, and input a valid email address.
Using an email checker, you can verify that the email address you input is valid, and you will receive an email notification containing the backup download link once the backup is ready.
What if you have a Shopify store? How can you back up your Shopify store?
How to Do a Shopify Store Backup
Shopify lets you back up your store in two ways.
First, you can use an app from the Shopify App Store. Apps like Rewind Backups and BackupMaster are quite popular for this purpose. They provide automatic backups alongside other features, but they’re subscription-based services, so you’ll need to pay monthly for the services.
The other option is to back up your store manually through CSV files. You can use this to back up data such as products, customers, orders, financial data, discount codes, and gift card codes.
Simply click on the data you want to back up (from the menu on the left, as shown below), then click “Export” from the next window.
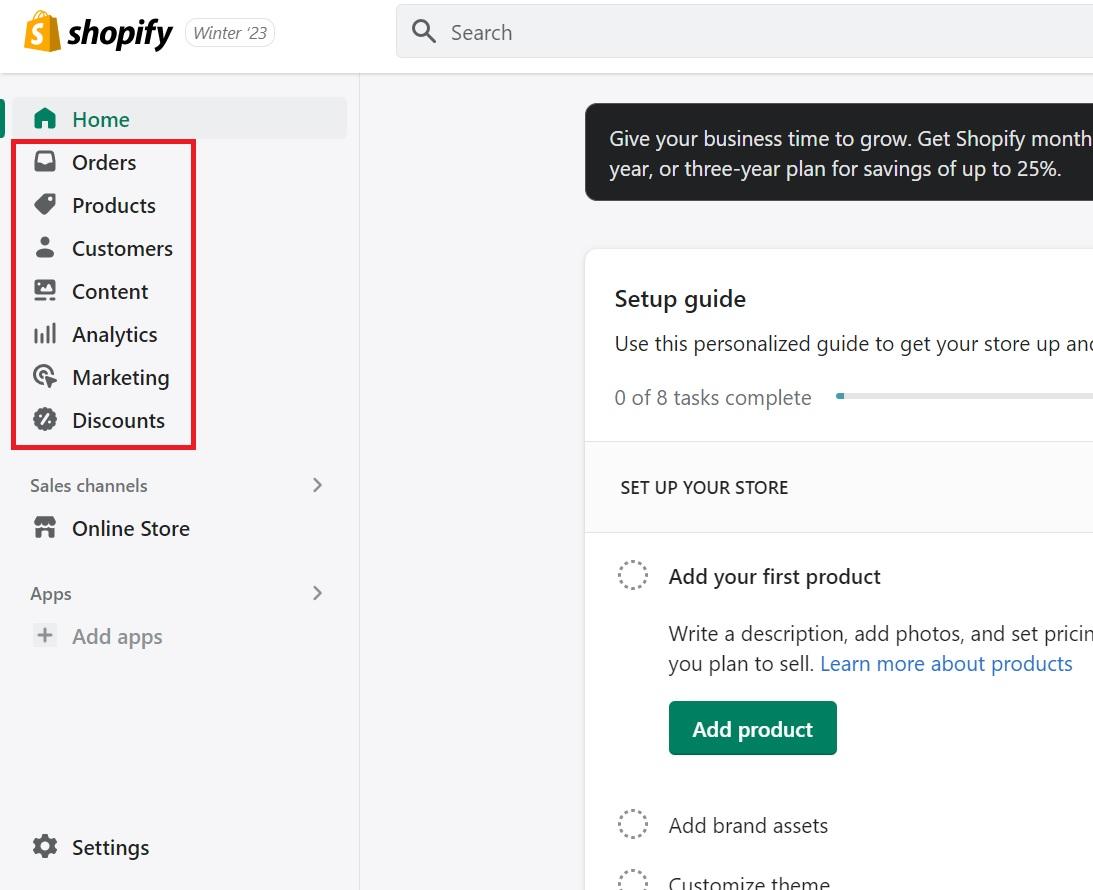
[Source: Shopify]
A new window will pop up asking for additional information, like whether you want to export all products or current products only. Tick the relevant boxes and click “Export Products.” You’ll get a backup as a CSV file.
Besides the data, you can also back up your Shopify theme by downloading it in these three steps:
- Log into your admin account and go to “Online Stores,” then “Themes.”
- Click “Download Theme File.”
- You’ll receive the theme in your email as a .zip file.
2. Review Your Current SEO
SEO data is very important to retain. The SEO data will help you review your new website’s performance compared to the old one, helping you make informed tweaks. So, before you redesign your online store, make sure you collect all your website’s SEO data.
Here is how to do that:
- First, open the Google Analytics tracking tool to export the list of top-performing pages and content.
- Then, you need to track your keyword rankings using your keyword tracking tool of choice.
- Once the data is downloaded, you must store it securely for future reference.
You also need to review your site speed and uptime.
Store Speed
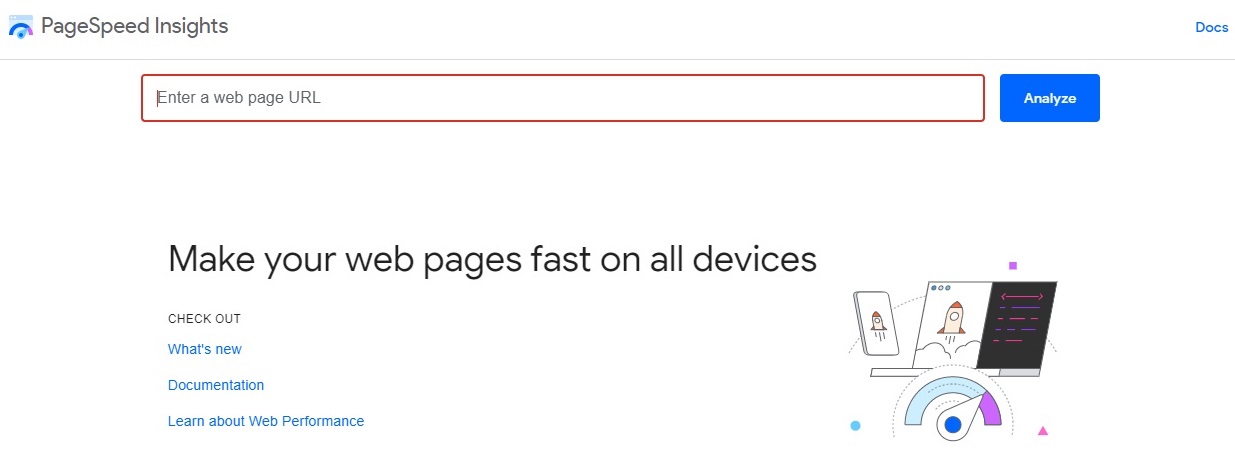
Users want websites to load quickly. If your website is slow, you will lose traffic. Google’s PageSpeed Insights is a great tool for checking your website speed. Check your speed before the redesign, and again after the redesign. If your website has gotten slower, you will need to address this.
Pro Tip: You can also use the free Benchmark Hero app, which will audit your store’s speed and technical performance, along with shopping experience, trustworthiness, and marketing against the most significant eCommerce brands in your niche.
Store Uptime
Uptime is also vital. Uptime is the metric that determines how often your website stays up. If your website goes down frequently, you will lose traffic.
One of the best ways to remedy poor uptime is by choosing a reliable web host provider. Check the average uptime for your web host provider. An uptime of 99.9% is desirable. So, if your current hosting provider is struggling to give you such uptime, consider switching to another solution.
Shopify offers a similar uptime guarantee (99.98%) to its users. Still, you can use a tool like Uptime to monitor the uptime of your Shopify store. This tool will give you real-time updates whenever your store or third-party apps break.
Bonus Content: Shopify SEO: How to Get Your Shopify Store to Rank #1 on Google
3. Retain the Old Content and Store Structure
When redesigning your eCommerce website, remember that the old content and structure still have value.
It helps with SEO for keywords, links, and other signals to determine how likely a store or product page will be relevant to the search terms a user entered. It also helps with brand awareness, since shoppers expect to see the same content as before.
Google’s algorithm considers the URL structure and the page content when deciding which pages are most relevant for each search term and keyword query.
So even if some of your old URLs show up in different places on your new site than they did before (like maybe on different pages), Google will still consider them valid links and pass along traffic accordingly.
But you must also be careful about how much of that old content you keep. Consider how much duplicate content is on each page and whether you can merge them into a single page with comprehensive information.
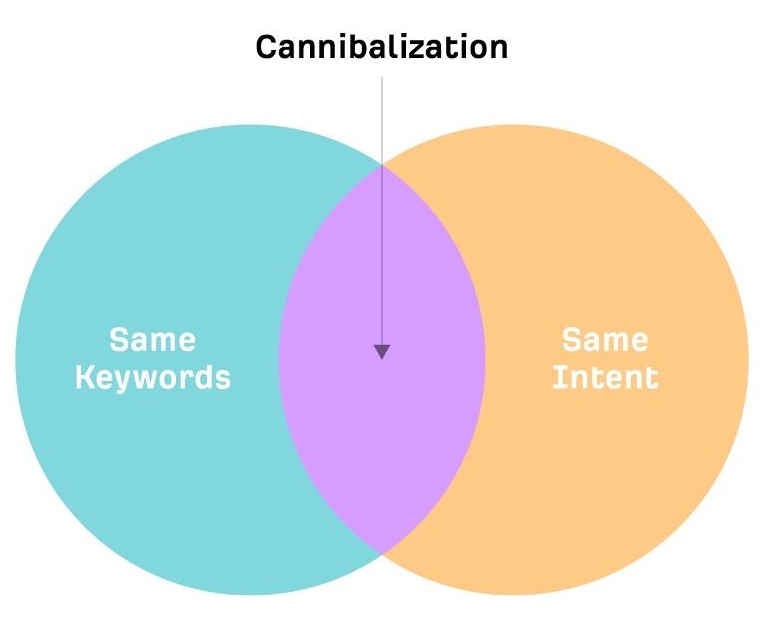
Let’s say your online store is targeting the keywords “men’s workout shoes” and “men’s exercise shoes” on different pages. Over time, these pages may struggle to rank on Google Search results. This is usually due to keyword cannibalization.
What Is Keyword Cannibalization
Keyword cannibalization essentially means having several webpages targeting the same keyword or search query. So, with the example above, it would be best to merge the two pages to stop them from competing against each other.
[source: Ahrefs]
We see keyword cannibalization a lot during SaaS content production. It can be an even bigger problem in the eCommerce industry, considering online stores usually have hundreds to thousands of product pages. You really need to keep a close eye on this, as it can hurt your rankings.
You should also keep any images that have been optimized for SEO in place. That will keep them from being penalized by Google as duplicate content, since search engines had already indexed them before the redesign.
Review each page and ensure there are no broken links or missing images on each page (if there are, fix them before moving forward).
4. Do an On-Page Content Analysis
Once you have completed your online store redesign, it’s a good idea to analyze your on-page content. Content includes all your store pages, landing pages, blog posts, and product pages.
You could also take this opportunity to upgrade some of your content using SEO software. Or by using a tool like Link Whisper to ensure all important pages have internal links. Internal links are critical to ensure no important pages end up being “orphan pages” (pages that are not linked to from any other webpages on a website).”
Aside from the basics, here are some things to keep in mind:
- Duplicate content
- Keyword cannibalization
- Decayed content
- Organic CTR analysis
- Content relevancy
- Archiving
Let’s take a closer look at each.
Duplicate Content
You want to ensure there is no duplicate content, as this can affect SEO rankings. This means writing unique product descriptions for each product page. You also want to keep a close eye on your URL structure to ensure they’re consistent and clean.
For example, search engines may see “www.petstore.com/product/” and “petstore.com/product” as duplicate content.
To avoid this, we recommend using canonical tags to show search engines your preferred URLs.
Keyword Cannibalization
As mentioned earlier, make sure you’re creating internal competition between your webpages. This means creating unique content for each page.
Bonus Content: How to Create Perfect Product Pages for Conversions
Decayed Content
Decayed content refers to content that used to perform well but no longer does. The shift in performance can be due to many things, like keyword cannibalization, duplicate content, and a shift in search intent, among others.
To fix this issue, you’ll need to audit the page and possibly update it. For instance, you may need to update the product description with new information to freshen up the page.
If the cause for the decay is duplicate content, you’ll need to create unique content for the duplicate pages or merge them into one optimized page.
Meanwhile, a shift in search intent could mean that Google stopped ranking product pages targeting “men’s running shoes” and started ranking “best of” articles, for example. In such a case, you’ll want to create a blog post to increase your chances of ranking for that search term.
Organic CTR Analysis
A page can rank high but still suffer from a poor CTR. It’s crucial to analyze this metric. To improve your store’s CTR, you’ll need to write better meta descriptions and title tags.
Content Relevancy
You also need to decide if your store content is relevant. This includes the content on your landing pages, product pages, and any blog posts you may have on your site.
The best way to analyze your content is by conducting a content audit.
- First, take an inventory of your website’s current content.
- Next, you need to analyze relevancy; irrelevant content should be excluded in the redesign. For example, your Valentine’s Day offers landing page may no longer be relevant once the sale and event are done.
You can use a content audit tool like Semrush Content Audit to generate a list of URLs and relevant data. A tool like this allows you to organize your audit and explore certain sections easily.
Archiving
When making any content changes, it’s important to archive the old content in case you need to revert to it.
There are many reasons you might need to return to old content. For example, you may tweak a particular product page only for its performance on the search engines to tank. Having the old content archived somewhere would come in handy in such a scenario.
Creating a spreadsheet for the old and new content is an excellent way to organize this. And to take your website to the next level, consider incorporating creative and informative infographics ideas to engage your audience and break down complex information in a visually appealing way.
For example, you can update your content to share tips on how customers can use your products in an engaging infographic.
5. Test Your Design and Launch It
If you want to get your new design out into the world, you need to ensure it’s ready. To do so, you need to test your site.
Testing is usually done on a staging server. Why? Having your design on a staging server allows you to test all the parts of the website and resolve any errors before there are real consequences.
What about Shopify stores?
Bonus: How to Set Up a Staging Site for Shopify
First, you need to create a second Shopify store where you’ll run the tests. If you have a Shopify Plus subscription, you can use one of your unused expansion stores for the staging site.
For users on the other plans, you can set up a free store using the Shopify Partners program. Here’s how to go about it:
- Visit the Partners program webpage and set up your partner account.
- Click on “Create Store” from the main dashboard once you’ve created an account.
- Select “Development Store” in the next dashboard when asked to select the store type.
- Give your store a name.
(We recommend giving the store a unique but related name, so you can tell it apart from your live store. For example, if the main store is “petcare.com,” you can name the testing store “stagingpetcare.com.”)
The free account created through the Shopify Partners program is usually enough for most testing purposes. However, if you’re unable to use it for whatever reason, open a new store through the Shopify basic plan. But keep in mind that you’ll have to pay the monthly charges.
Now, with your second store ready, you’ll need to install an app like Rewind Staging to import the data from your live store and create a staging environment on the second store. To do that, you will want to follow these four steps:
- Head over to your live store and install the app from the Shopify App Store. This will act as the source store.
- Install the app in the second store, which will be your destination store.
- Copy the key from the source store to the destination store to link the two.
- Select the data you want to copy from your source store into the staging store and then click “Begin Task.” (It’s advisable to copy all the data to ensure the staging store mirrors the live store completely.)

[Source: Rewind Staging]
That should copy all your data onto the staging store, which you can now use to run your tests. The drawback to all this is that Rewind Staging is a paid app. It’ll set you back $99/month.
Once you’ve thoroughly tested your website on the staging server, you can launch your redesigned site. That’s if the site is performing as intended, of course. Otherwise, go back to development and fix any issues you may have noticed during testing.
Publish your website to the live server and promote it to your customers through social media, email, or even a digital business card. That should bring in more traffic, which will then generate public feedback. It’s critical to keep a close eye on the initial feedback, as it can be precious when making final adjustments.
6. Audit Your Site After the Launch
The time immediately after you launch your site is crucial for making changes. Even with a rigorous testing stage, mistakes slip through the net. So you need to audit your store after a website redesign.
These are the various audits you should perform:
- Check that all redirects are working correctly
- Check the SEO of your top-performing pages
- Compare load times with the original website
- Check all titles, headings, and meta descriptions
- Look for 404 errors
- Test on different browsers
- Test mobile capability
You may audit your website using SEO tools such as Ahrefs or Semerush or by using the free eCommerce audit tool — Benchmark Hero.
However, you must regularly monitor visitor feedback to ensure your eCommerce website is optimized for your potential shoppers and existing customers.
To gather valuable public feedback, you need to ensure it’s easy and maybe even rewarding for users to do so.
Therefore, provide a clear and straightforward form or pop-up to encourage users to report any issues they may encounter while using the site.
Conclusion
Redesigning an existing eCommerce website without losing traffic is all about reviewing and testing the different parts of the website. You lose traffic — and sales — when errors are missed and the content isn’t up to scratch.
Start by creating a backup of your store and reviewing your current SEO. You also need to retain most of the old content and structure, and the content needs to be SEO optimized and relevant to your website’s objectives.
Finally, you need to launch your website but ensure you continue auditing to find any minor errors before you lose traffic.
Implementing these tips will give you the best chance to redesign your eCommerce website without losing traffic. But it’s an ongoing process; you need to monitor user feedback to keep on top of any problems.
Got questions? Post them in the comments section below!

Nico is the founder of , a SaaS marketing agency. The company works with enterprise SaaS clients, helping them scale lead generation globally across EMEA, APAC, and other regions.
Recommended articles
 Facebook Ads for eCommerce: 16 Strategies, Examples & Tips
 How to Build a Winning eCommerce Ads Strategy
 Google Ads for eCommerce: Everything You Need to Know
 10X Your Traffic with PPC Management Software
Comments
Powered by Facebook Comments